How To Polish Car Paint - Car Polishing Basics
|
| |
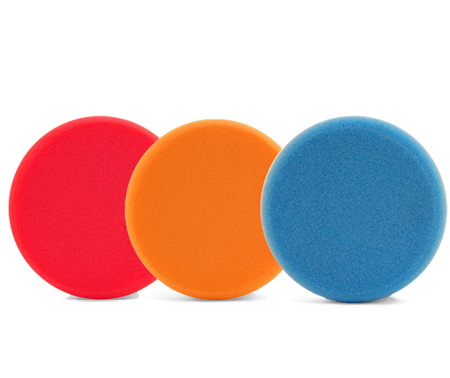
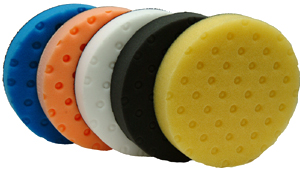
| This complete Porter Cable Polisher & Pad Kit includes four grades of foam polishing pads of your choice, and a 5" flexible backing plate. |
The Porter Cable 7424XP Car Polisher is a dual-action car polisher. That simply means that the polishing head both orbits and rotates at the same time.
A dual-action car polisher offers the best "polishing action" for car polishing by the professional or the serious car care enthusiast. It is 100% safe for the do-it-yourselfer who wants an automotive polisher that is safe to use and provides awesome results.
If you have never used an electric car polisher on your car before, but want professional results that are simply not possible by hand, the Porter Cable 7424XP Car Polisher is the right machine.
|
|
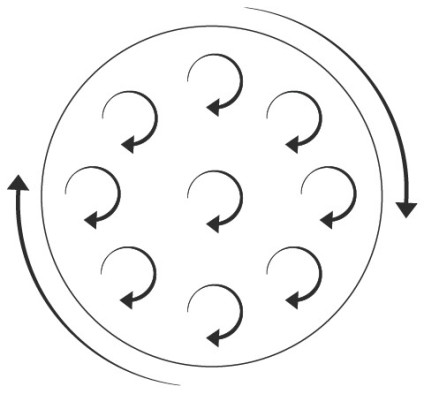
| This diagram shows the working action of the Ultimate Detailing Machine car polisher. It both orbits (small circle action) and rotates for superior car polishing. |
There is no way the human hand can achieve the results that are obtainable with a Porter Cable Car Polisher. Modern clear coat paint is simply too hard to polish by hand.
If you want the finest results possible, with ease and safety, you need a Porter Cable 7424XP Car Polisher car polisher. It's the safe and effective tool for polishing your car's paint to perfection. Plus, it easily applies and buffs off all liquid car waxes and paint sealants.
Even if you have never used an automobile buffer or car polisher before you, can use a Porter Cable Car Polisher to achieve awesome, swirl-free results.
WHAT MAKES THE PORTER CABLE BETTER?
Most consumer grade car polishers are oscillating devices that perform well as electric waxing machines, but perform very poorly as "polishers". All modern cars, which have a clear coat finish, require a powerful car polisher, not a waxer.
What's the difference between a polisher and a waxer?
A car polisher has the ability to apply polish (any abrasive compound) with enough energy to correct paint defects (surface scratches, swirl marks, water spots, etc.). On the other hand, an electric waxing machine, often called a "car polisher", generates enough energy to distribute wax, but won't make corrections.
If you want to maintain the shine on your car, or remove common paint defects, including oxidation, water spots, insect damage, swirl marks and scratches, you need the Porter Cable 7424XP Car Polisher.
HOW EASY IS IT TO USE THE PORTER CABLE... CAN I HURT MY CAR'S PAINT?
It's really easy, honest!
The polishers have a bit of weight to them; they weight about 6 pounds. However, you don't apply much pressure unless you're doing paint correction.
There's a little bit of technique involved, but most people get it in about 5-10 minutes. The technique is to use overlapping motions and run the polisher over your paint at a nice and slow speed.
| |
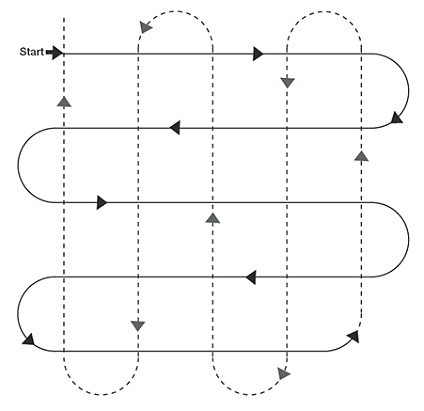
| Proper machine car polishing is as easy as following this simple pattern. Master this and you're on your way! |
WHAT KIND OF CAR POLISH DO I NEED?
Some great car polishing suggestions for the doityourself-er!
| | Pinnacle Advanced Swirl Remover This is a fantastic Swirl Mark Remover, another term for a car polish designed to remove swirl marks. |
| | Ultima Paint Prep Plus is the finest clear coat finish polish available. It is super concentrated, making polishing easier and more economical. A single 12 oz. bottle will polish up to ten full-size cars. For best results, apply by machine. |